Finally after months of my scooter sitting and not running I was able to work on it. The last time I rode my Chetak it would fire up and run for a few blocks and then sputter out and stall. It took a little while, but I could get it running again and the story repeated itself. I first checked the fuel lines and then the fuel flow. Everything seemed clear there.
Next I, I took apart and cleaned my carb.

I labeled what lines go where so as not to forget.
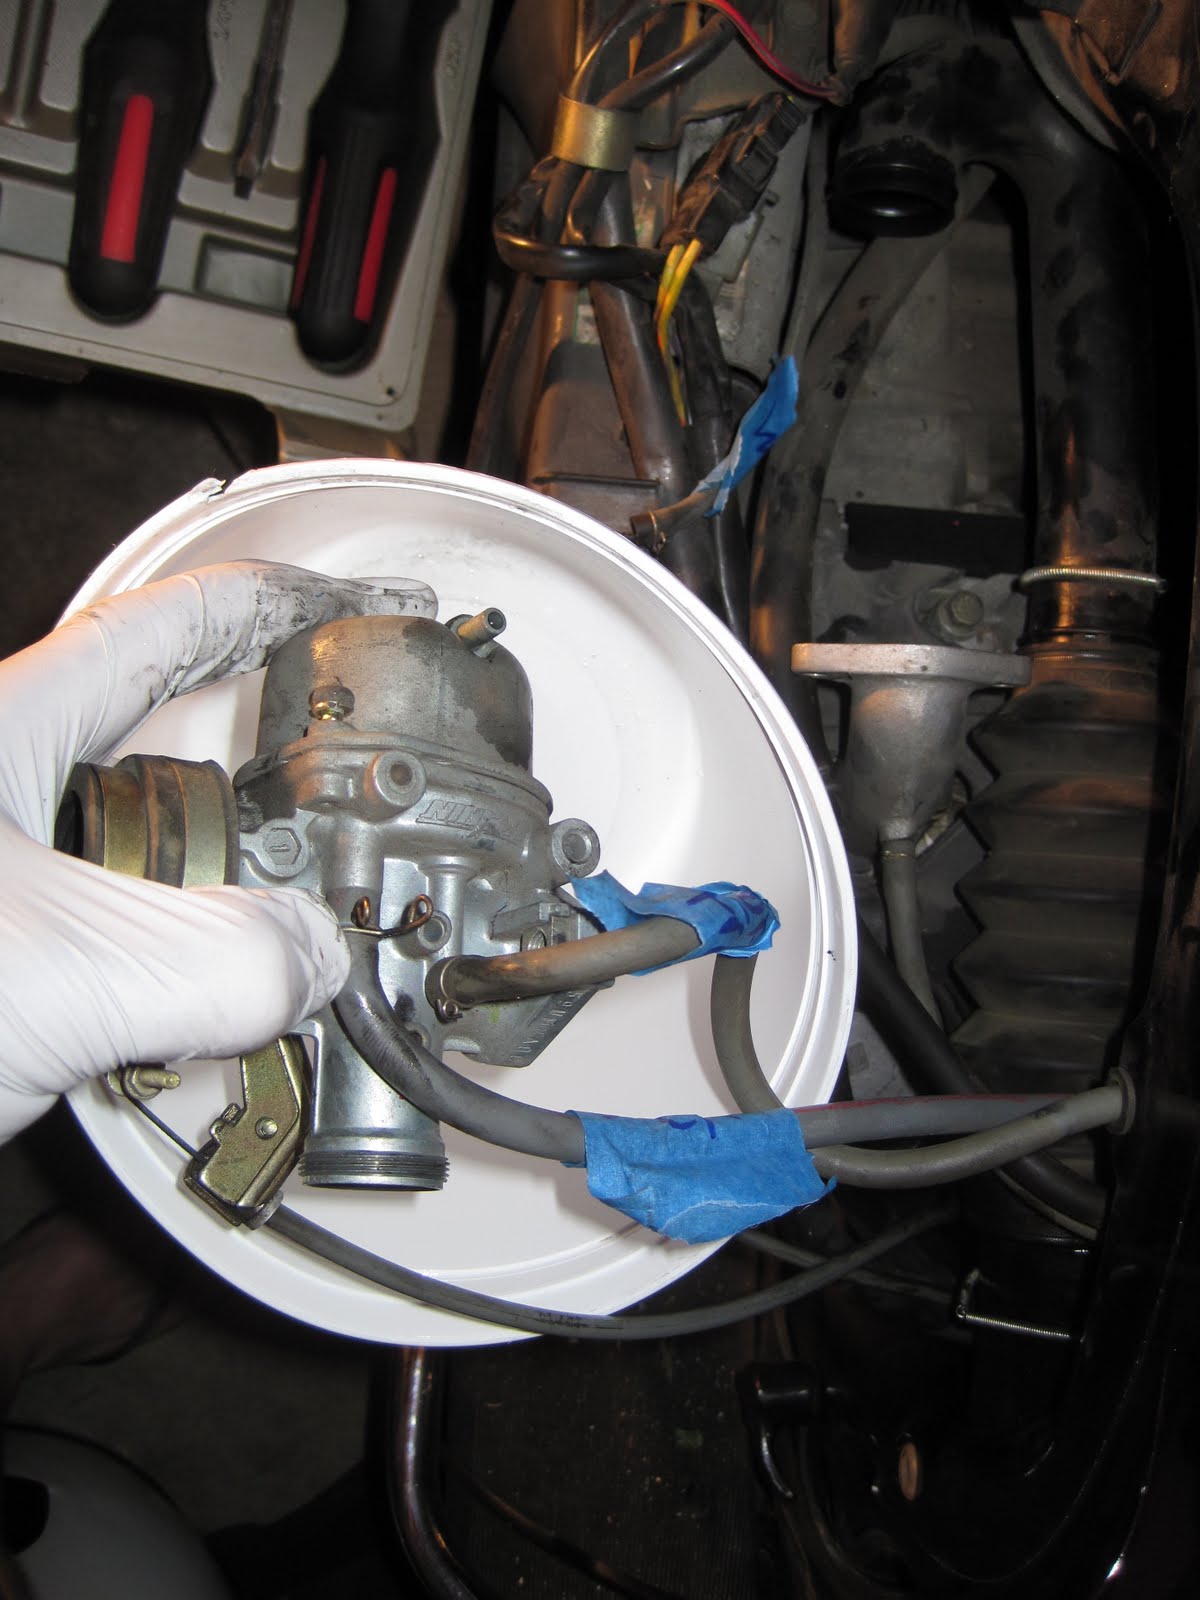
I took every part of the carb apart and cleaned it.

I removed slide and the manufacture's screws were punched on the back side so the screws would not fall out. I used a split washer and blue lock-tight to replace them.

I let the lock-tight dry over night and put the carb back together.

Even though I saw no crystalization on the jets or anything I really hoped the bike would fire up after I reinstalled the carb.

It did not. There is compression and it appeared the fuel was flowing and the carb was functioning, but it did not fire up.
April 4, 2010 follow-up . . . I replaced the spark plug tonight and the bike is now running thanks to some advice from the Retro Bajaj forum. It is also possible that the original Indian spark plug cap may be firing when you test it for spark, but the $6 replacement for a new NGK one will result in a bike that does not sputter.

I looked beneath the gas tank to check the fuel lines and such once more and found this:

I traced the line to the "Canister Kit".
 And then I traced it to the top of the fuel tank.
I am not exactly sure what the Canister Kit does as my Service Manual and Parts Catalog give little insight. I am going to look into that. I wonder if it pushes air to the gas tank to help with the gravity feed.
I do not have a spare line to replace the split on yet.

Which by the way makes a puddle of gas when I kick start -- not sure why. I suspect it happened when I rolled the scooter down the ramp out of my garage without the seat on it. I sat on the bike and I may have sat on the "L" valve. A used gas tank costs $5o. The other option is to find someone who will weld a dry clean gas tank - also possible. The easiest and first step should be to test JB Weld on it. Remember, the way of least resistance is always best when repairing scoots.
Step 1 was to clean the area of grease so the JB Weld would stick. Note that I rode with a sock to catch the gas, but obviously the sock was damp and ate a way at the paint. Damn that was dumb of me. It would have been better to leave the area without a sock and let the gas evaporate, which would hurt the paint less. I did not know this.
Step 2 is to lightly sand the area, wipe clean and air dry the area.
Step 3 prep the JB Weld.
Step 4 is to apply the JB Weld. Lay it thick enough to slant outward so the base is wider. Here you can see the paint peeling due to being soaked with gas on the sock. Apply JB Weld with a tooth pick or skewer stake for good control. Only apply small dabs at a time and fold the thick mess around the "L" tube.
Step 5 is to let the JB Weld dry. As you can see, once reconnect the tube you won't even see this area and the gas tank will be dry. My scoot is garage stored so rust on the gas tank is not a concern of mine, but if it is for you scrape and lightly sand the area and then tape off with newspaper and hit with black spray paint in two thin (I mean THIN) coats and you're good.